


Creations by AR Valentine 3D Blog Hop
 Hi Friends!! Welcome to the Creations by AR Valentine 3D blog hop! Adela is releasing two templates this time around and they are so darn cute:
SURPRISE PURSE
You have a chance to win both sets of templates by commenting my post! You have several opportunities to win by commenting the other design team members post!! You have until midnight PST today to comment. The winner will be announced on Thursday January 19! Good luck!

My project is using the "Shadow Box Frame Set". The set comes with 2 designs. I used the template with the heart window and the other template has a square window. I decided to create a photo shadow box using a photo of me and my daughter. I gave the shadow box to my daughter. She recently moved to campus housing and I thought it would be a nice frame to decorate her desk in her room.
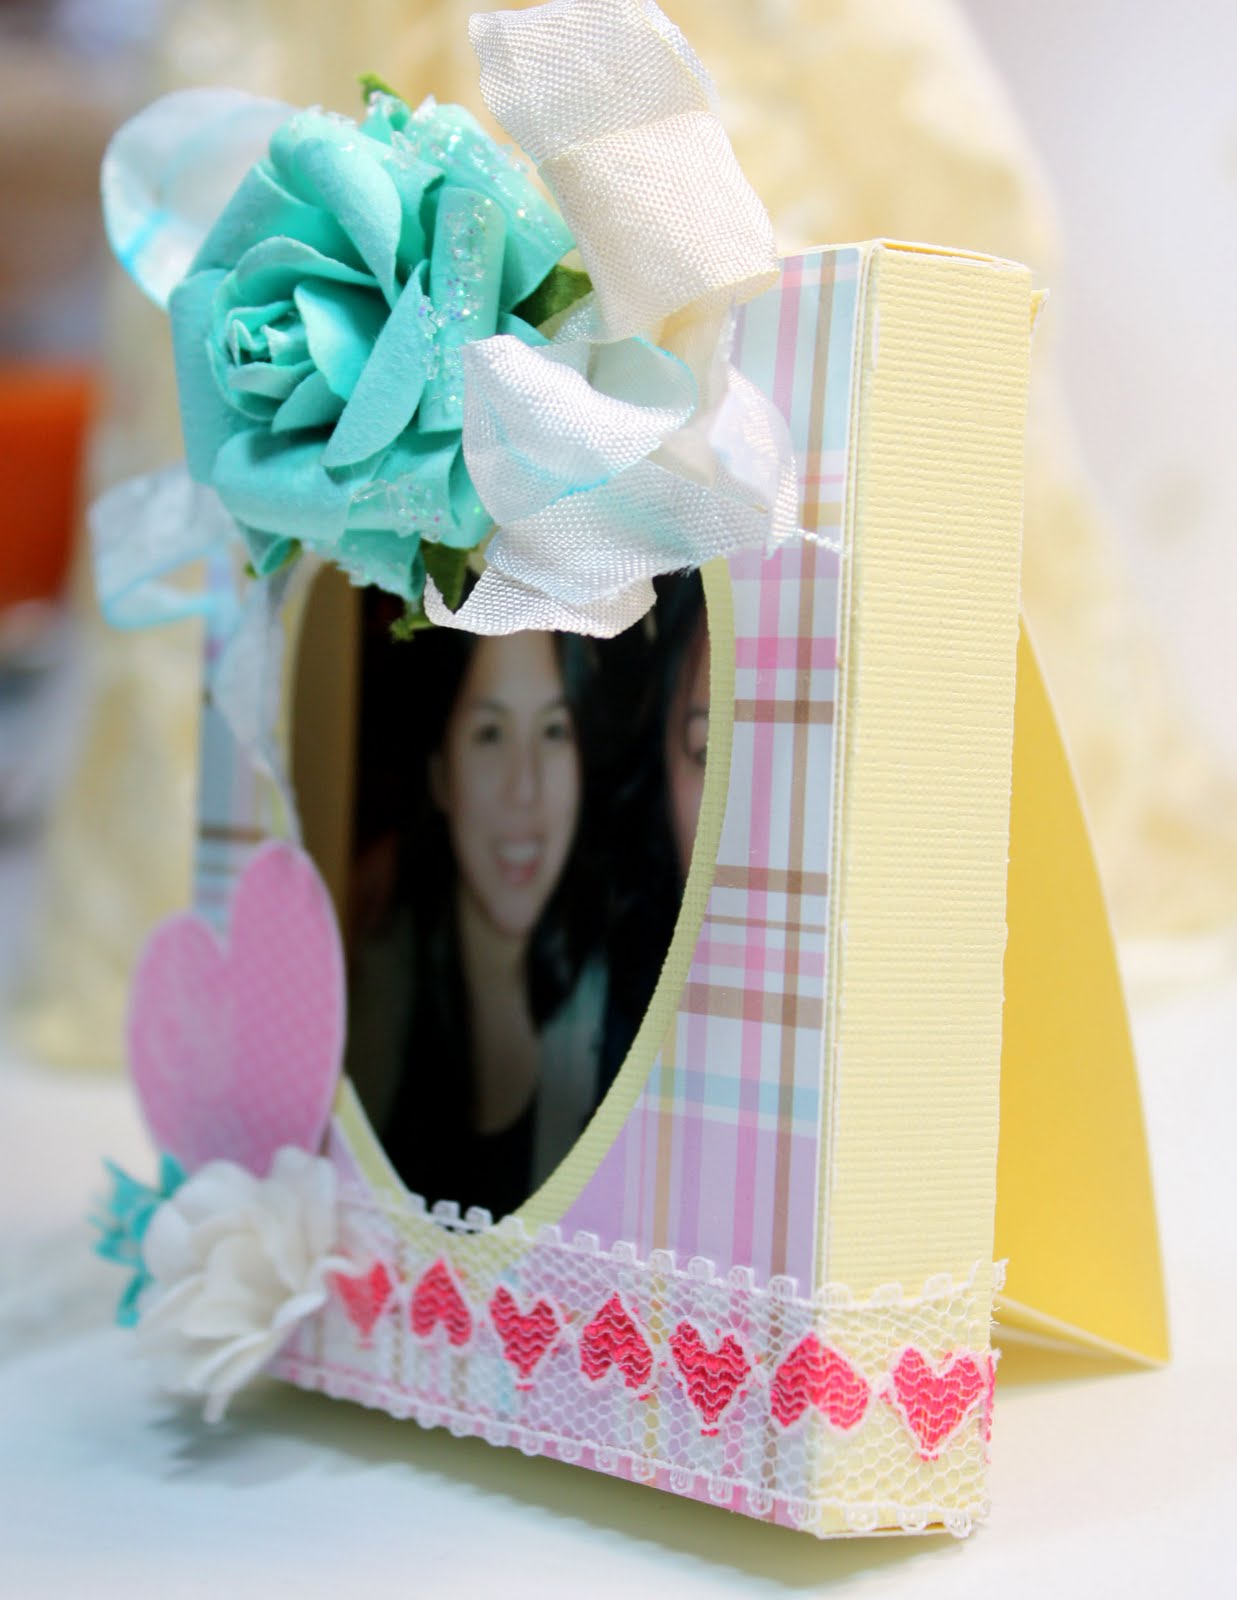
In this photo it shows the stand in the back of the shadow box so it can be easily displayed. Without the stand, it makes for a perfect treat box!

To decorate the box I used a heart decorated lace trimming and several Prima flowers.

To complete the design I cut out a heart from a designer paper and added a seam binding bow.
I'll post a project using the "Surprise Purse" template on Thursday when I make the announcement. Visit the other designers blog and check out their design of the Surprise Purse and Shadow Box.
Don't forget to comment!! Hope you all have a wonderful Wednesday!
Like my Facebook Page


