Penny Black and Magnolia Stamps Cards

Hey Friends! I recently stopped by Joanne's and Michaels and I noticed that they are downsizing on their paper crafting section, especially Michaels. They no longer carry a wide variety of punches like EK Success (which I loved), they discontinued carrying Spellbinder dies, they no longer carry that many scrapbook papers like K&Co. I think it's the CAS trend of card making and Project Life style of scrapbooking that is leading to the down sizing. I know it's the trend right now but wow, I feel they killed the paper crafting industry. For people like me who still like to use designer papers and punches, bows and embellishments, it saddens me a bit to see how limited the selections are now. Even the rubber stamping businesses are closing shop. Ugggh! I know simple is good in a different way. . .it's faster to create cards and scrapbook layouts and also less expensive because you don't have to buy as many items, but gosh, in my opinion, it haven't been good for the paper crafting industry.
Thankfully, I still a lot of scrapbook papers, punches, dies and rubber stamps to last me a lifetime! Anyway, just my thoughts with what is going on in the paper crafting world.


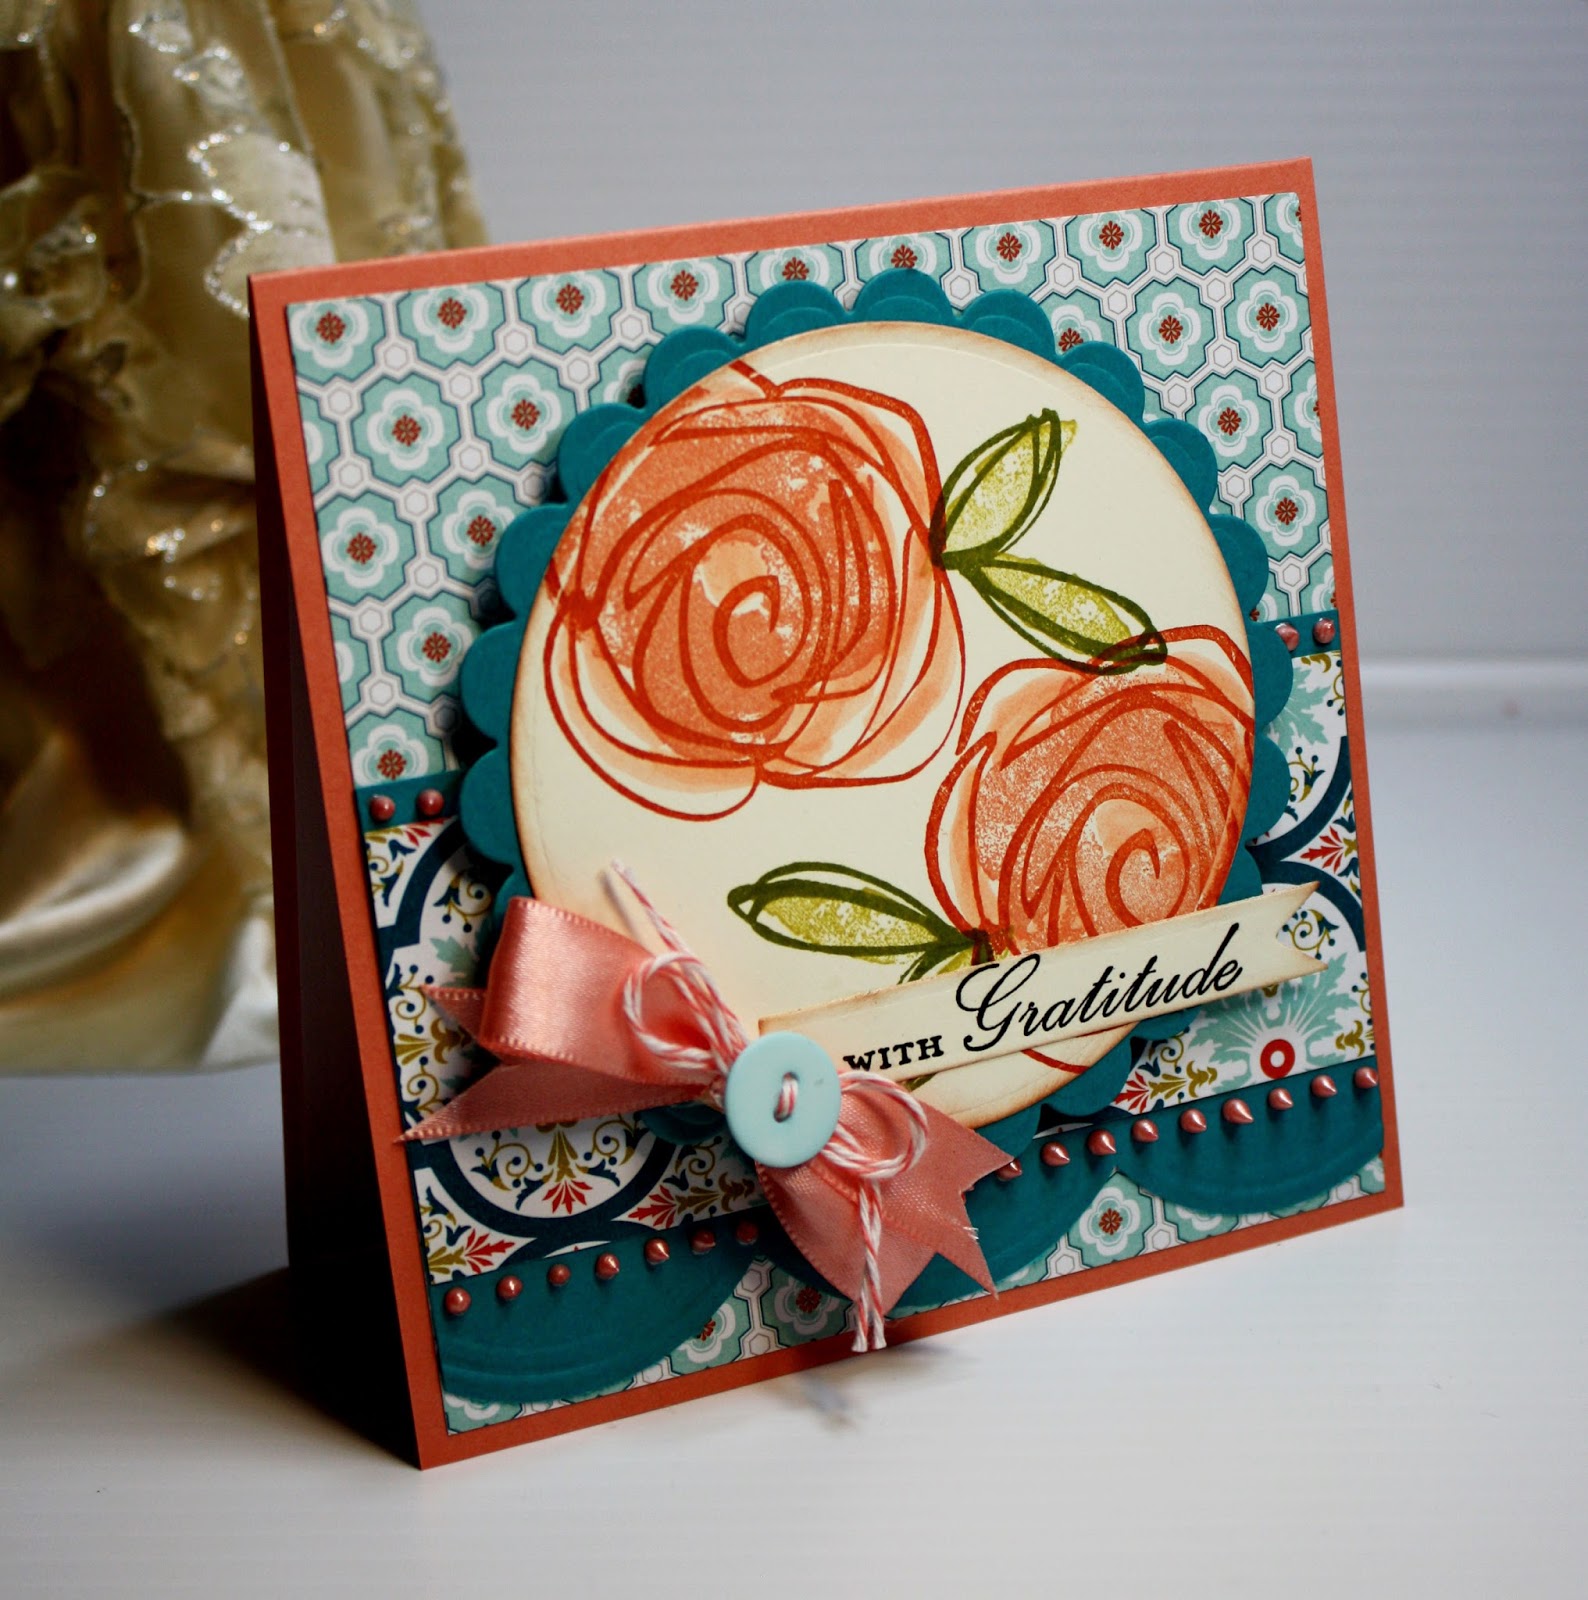
With this card, I also used Penny Black. The designer papers are by DCWV which I also have a ton of! I have a ton of everything. . .I probably can open my own paper crafting store with all the stuff I have. Anyway, that's it for now. I'll blog again when I have the time. Hope you all have a wonderful day!!
Etsy Shop: Inspired & Unscripted
Like my Facebook Page